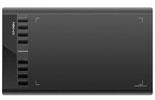
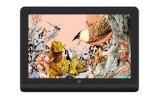
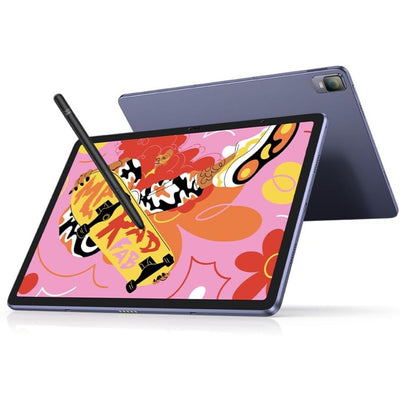

A graphic tablet (often called a graphics tablet) lets you draw, write, or design digitally using a stylus — much like pen on paper. As you move the stylus, your strokes appear instantly on your screen.
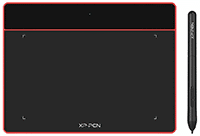
If you’re just starting out, look for a tablet that’s simple to set up and comfortable to use. XPPen’s Deco series is a good starting point — it offers natural pen control and works well with everyday creative software, without feeling overwhelming.
Most XPPen tablets are designed to be used with a computer. Some models also support Android devices, so you can draw or write without a laptop — as long as your device is compatible.
Yes. XPPen tablets work with Windows and macOS, and selected models also support Android. You’ll find exact compatibility details on each product page.
Yes. XPPen tablets are commonly used for online classes — whether you’re writing notes, drawing diagrams, or explaining concepts live during screen sharing.
XPPen tablets work with most popular creative and productivity software, including Photoshop, Illustrator, Clip Studio Paint, Blender, Krita, and OneNote.
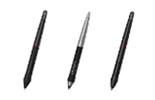
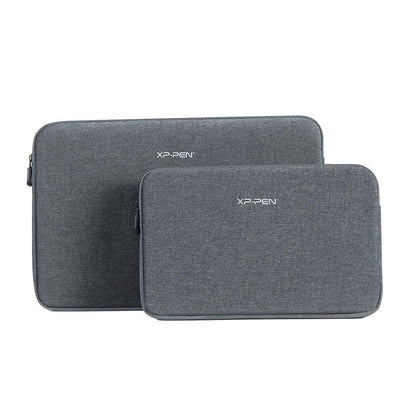
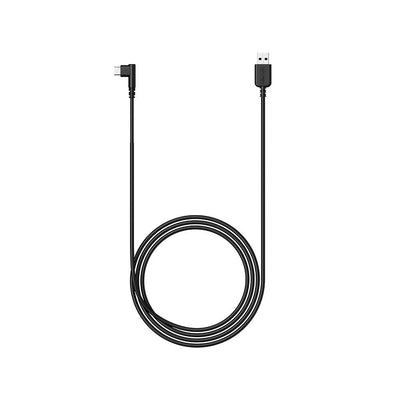
Inside the box, you’ll usually find the tablet, a stylus, connecting cables, spare pen nibs, a nib remover, and a quick start guide. Contents may vary slightly by model.
No. You only need an internet connection to download drivers or software. Once set up, the tablet works offline.
No. Most XPPen styluses are battery-free, so there’s nothing to charge — just pick it up and start using it.
User manuals are available online in the XPPen support section. Simply search for your product model.
Download the driver for your tablet model from the official XPPen website, install it, restart your system, and then connect your tablet.
All the latest drivers are available on the official XPPen support page, organised by product model.
Yes. If you’ve used another tablet before, uninstalling its driver helps avoid connection or pen issues.
Install the driver, connect your tablet, and open the driver settings. From there, you can adjust pen pressure and shortcut keys to suit how you work.
Use a compatible USB-C or OTG cable and make sure your Android device supports drawing tablets.
Open the XPPen driver software and assign functions to the buttons based on what feels most natural for you.
You can fine-tune pen pressure inside the driver using the pressure test tool until it feels comfortable.
Pen display models include a calibration option in the driver to help align the pen tip accurately with the screen.
Yes. You can choose which screen your tablet maps to from the driver settings.
Try unplugging and reconnecting the tablet, restarting your system, and reinstalling the driver if needed.


1. Open ”Task Manager” then select “PenTablet” &“Pentablet Service(32bit)” click “End task” to close them.

2. Open “File Explorer” and go to “C:usersuser nameAppDataRoamingPentabletxml” folder, then delete “pentablet” files.

3. Reboot the computer. Once it has restarted please open the tablet settings and click the “OK” button to save the pentablet file again.

1. Please go to “Finder – Preferences – Sidebar“.
2. On the Sidebar tab, please make sure your Macintosh HD (Mac) Hard Disk is enabled.

Please visit the XP-Pen website (https://www.xp-pen.com/download/index) and download and install the most recent driver until complete.
3. Open “Launchpad” and find “PenTabletSetting”.

4. Open “System Preferences”, then “Security & Privacy“.
5. On the “Accessibility” setting, find “Unlock” first then click “PenTabletSetting” and “-” to delete it.

6. Click the “+” button.

7. Go to “Application” – “PenTablet” folder, then choose “PenTabletSetting” and “Open” button.

8. Click the “+” button.

9. Go to “Application” – “Macintosh HD (Mac)” – “Library” – “Application Support” – “PenTablet” folder, then choose “MsgDisplay“, “PenTabletDriverUX“, “UgeePenTabletInfo” and “Open” button.

10. Make sure “MsDisplay“, “PenTabletDriverUX“, “PenTabletSetting“, and “UgeePenTabletInfo” are both enabled.


11. Close “Security & Privacy”.
12. Reboot system and when system goes to the desktop, please open “PenTabletSetting” on Launchpad and set it to your XP-Pen product.
Start by checking the cable connection, confirming the driver is installed, and restarting your device.
Make sure the correct XPPen driver is installed and that no other tablet drivers are running in the background.
Pressure sensitivity works only in software that supports it. Also ensure the XPPen driver is installed and active.
Unplug the tablet, reconnect it, and restart the driver software.
Check the cables, try a different USB port, and make sure the tablet is powered on.
Try replacing the pen nib and restarting the driver. This usually fixes the issue.
Closing heavy background applications and updating the driver can improve performance.
Reinstalling the driver will reset all settings and often resolves common issues.
Make sure all required cables — USB and HDMI or Type-C — are connected properly.
For best results, use the original cables that came with your tablet.
You can purchase genuine XPPen products from the official XPPen India website and authorised online marketplaces.
Yes, XPPen delivers to most locations across India.
Orders are typically delivered within 3–7 working days, depending on your location.
Once your order is shipped, you’ll receive tracking details via email or SMS.
This depends on the order status. If you need to make changes, contact support as soon as possible.
If your product arrives damaged, please contact XPPen support with photos of the product and packaging. The team will guide you on the next steps.
Any applicable charges are clearly shown during checkout.
Yes, GST invoices are provided for purchases made through official channels.
Yes. For bulk or institutional purchases, please reach out to the sales team.
You can contact the XPPen India support team via email or the Contact Us page.
Warranty details vary by product and are mentioned on the individual product page.
You can register your product online using the product registration form on the website.
Product registration gives you added warranty benefits, priority support, and important updates.
Yes, registering your product may make you eligible for additional warranty benefits.
Registration is recommended, but your purchase invoice is required for any warranty claim.
The warranty covers manufacturing defects that occur during normal use.
Damage due to accidents, misuse, water exposure, or unauthorised repairs is not covered.
Contact XPPen support with your invoice and product details, and the team will assist you.
Yes, a valid purchase invoice is required.
The time taken depends on the issue, but the support team will keep you updated throughout.
Spend time getting comfortable with pen pressure and shortcuts, and practice regularly. Small adjustments can make drawing feel much more natural.
Start with medium pressure sensitivity and adjust gradually until it feels right for your hand.
Illustration: Photoshop, Krita Animation: Blender Note-taking: OneNote
Yes. Many people use XPPen tablets for handwritten notes, annotations, and study work.
Keep the tablet surface clean and replace pen nibs when they start to wear down.
You can switch the tablet orientation in the driver settings to suit left-handed use.
Uninstall the older driver before installing the latest version from the official website.
Yes. Many XPPen models are well-suited for students and beginners.
You’ll find tutorials and tips on XPPen’s official YouTube channel and blog.
Yes. XPPen regularly runs workshops, events, and creator-focused programs.